
You love the idea of a poached egg.
That silky white, cradling a golden, runny yolk that spills like liquid sunshine over toast, avocado, or a grain bowl.
But in reality?
Your last attempt looked more like egg confetti soup.
Yolks broken. Whites stringy. Water cloudy with floating bits.
Sound familiar?
Here’s the truth:
👉 Poaching eggs isn’t hard.
It just needs the right method—not fancy gadgets, not aggressive swirling, and definitely not guesswork.
After years of kitchen fails, I cracked the code.
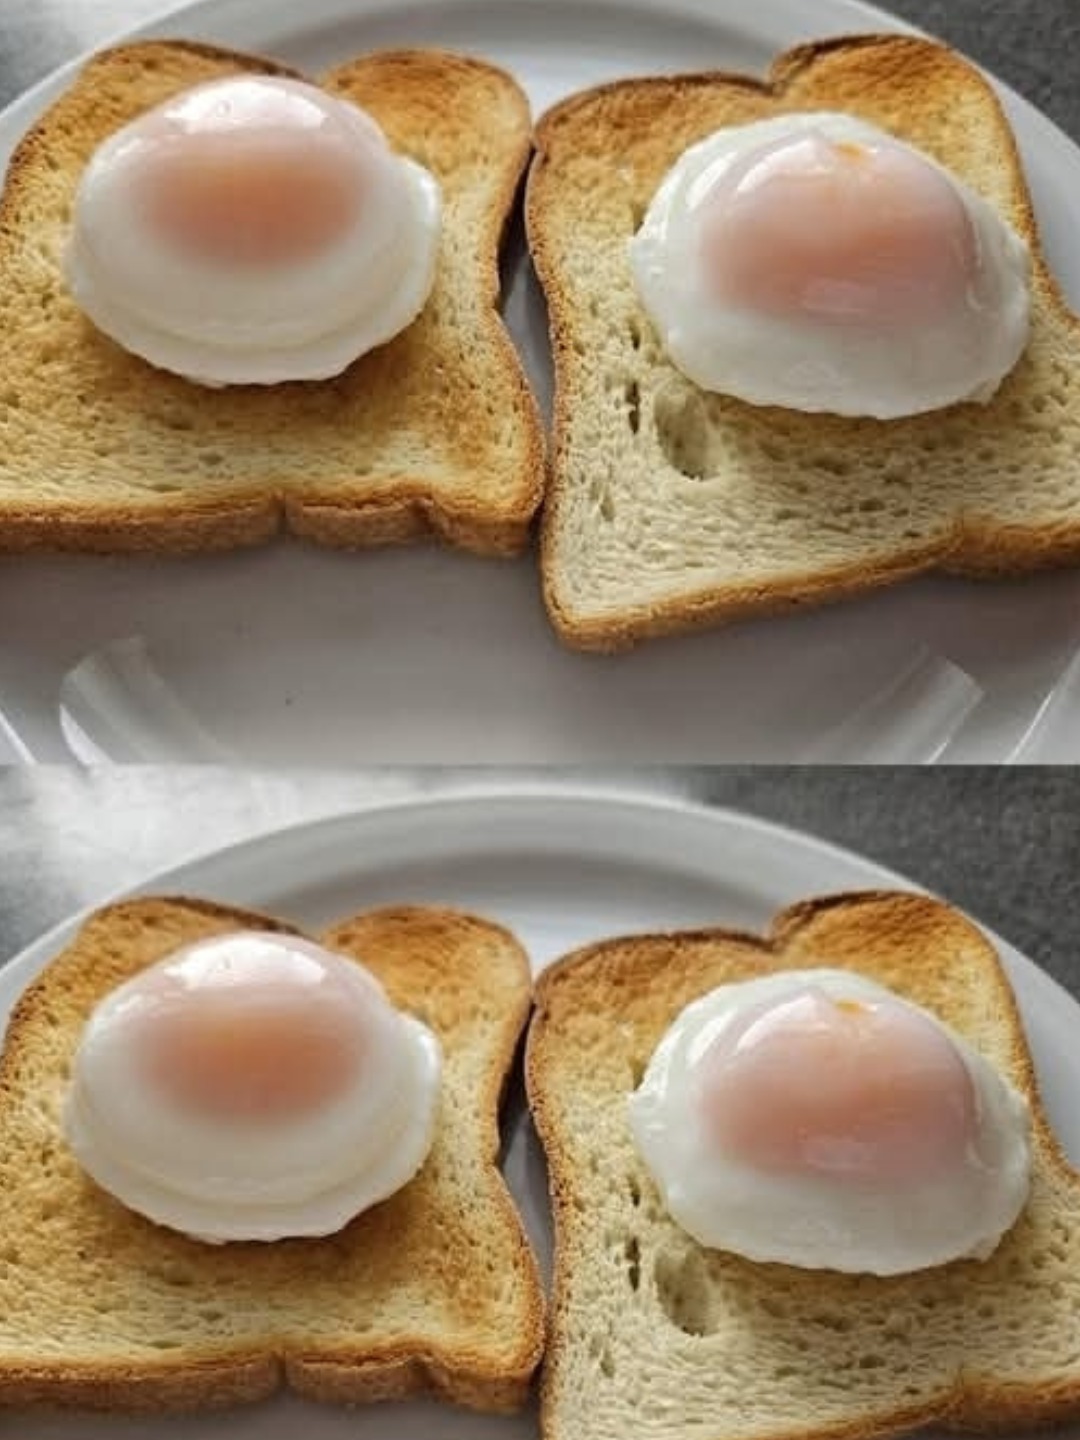
And now, my poached eggs come out perfect every single time:
✅ Compact, elegant shape
✅ Tender, intact whites
✅ Runny yolk that oozes beautifully
And best of all?
👉 No vinegar. No whirlpools. No strainers.
Just water, eggs, and a gentle technique anyone can master.
Let’s make something so simple, it feels like magic—but tastes like breakfast gold. ✨💛
🥚 What Makes a Perfect Poached Egg?
A flawless poached egg has:
Firm but tender whites —no rubbery edges or wispy strands
Centered, unbroken yolk —rich, warm, and perfectly runny
Neat, compact shape —like a little edible cloud
Clean cooking water —no scum, no mess
And here’s the secret:
It’s not about speed.
It’s about gentle heat + fresh eggs + patience.
🛒 What You’ll Need:
🛒 What You’ll Need: Just 2 Ingredients
Fresh large eggs (the fresher, the firmer the whites)
Water (plain tap water—no vinegar needed!)
Optional:
A small ramekin or cup (for sliding in the egg)
Slotted spoon (for lifting)
That’s it.
No special tools.
No “pro tips” that don’t work.
💡 Pro tip: Use eggs within 7–10 days of purchase—they hold their shape better.
🔥 How to Make Them: Step-by-Step, Yolk-by-Yolk
Let’s cook this like we’re making edible art—one perfect egg at a time.
Step 1: Heat the Water
Fill a deep skillet or saucepan with 3–4 inches of water.
Bring to a gentle simmer —tiny bubbles rising, but no rolling boil.
👉 Ideal temp: ~180°F (82°C). Too hot = tough whites. Too cool = won’t set.
Step 2: Crack Into a Cup
Crack one egg into a small ramekin or cup.
👉 This lets you slide it in smoothly—no splashing or spreading.
Step 3: Slide In Gently
Lower the ramekin close to the water.
Tip slowly and let the egg glide in—like dropping a pebble into still water.
👉 No swirling. No vortex. Just calm entry.
Step 4: Cook Low & Slow
Cook 3–4 minutes for a runny yolk.
For slightly firmer yolks: up to 5 mins.
👉 The egg should puff slightly and look set on the outside.
Step 5: Remove & Drain
Use a slotted spoon to lift the egg out gently.
Let excess water drain off for a few seconds.
Optional: Trim any ragged edges with kitchen shears (for restaurant-style polish).
NEXT PAGE
ADVERTISEMENT

